

How to Fix a Blurry Screen or Wrong Resolution on Windows 11 and macOS
Is your display fuzzy, stretched, or locked at the wrong resolution? Follow this complete, step-by-step troubleshooting guide to restore crystal-clear picture quality on Windows 11 and macOS.
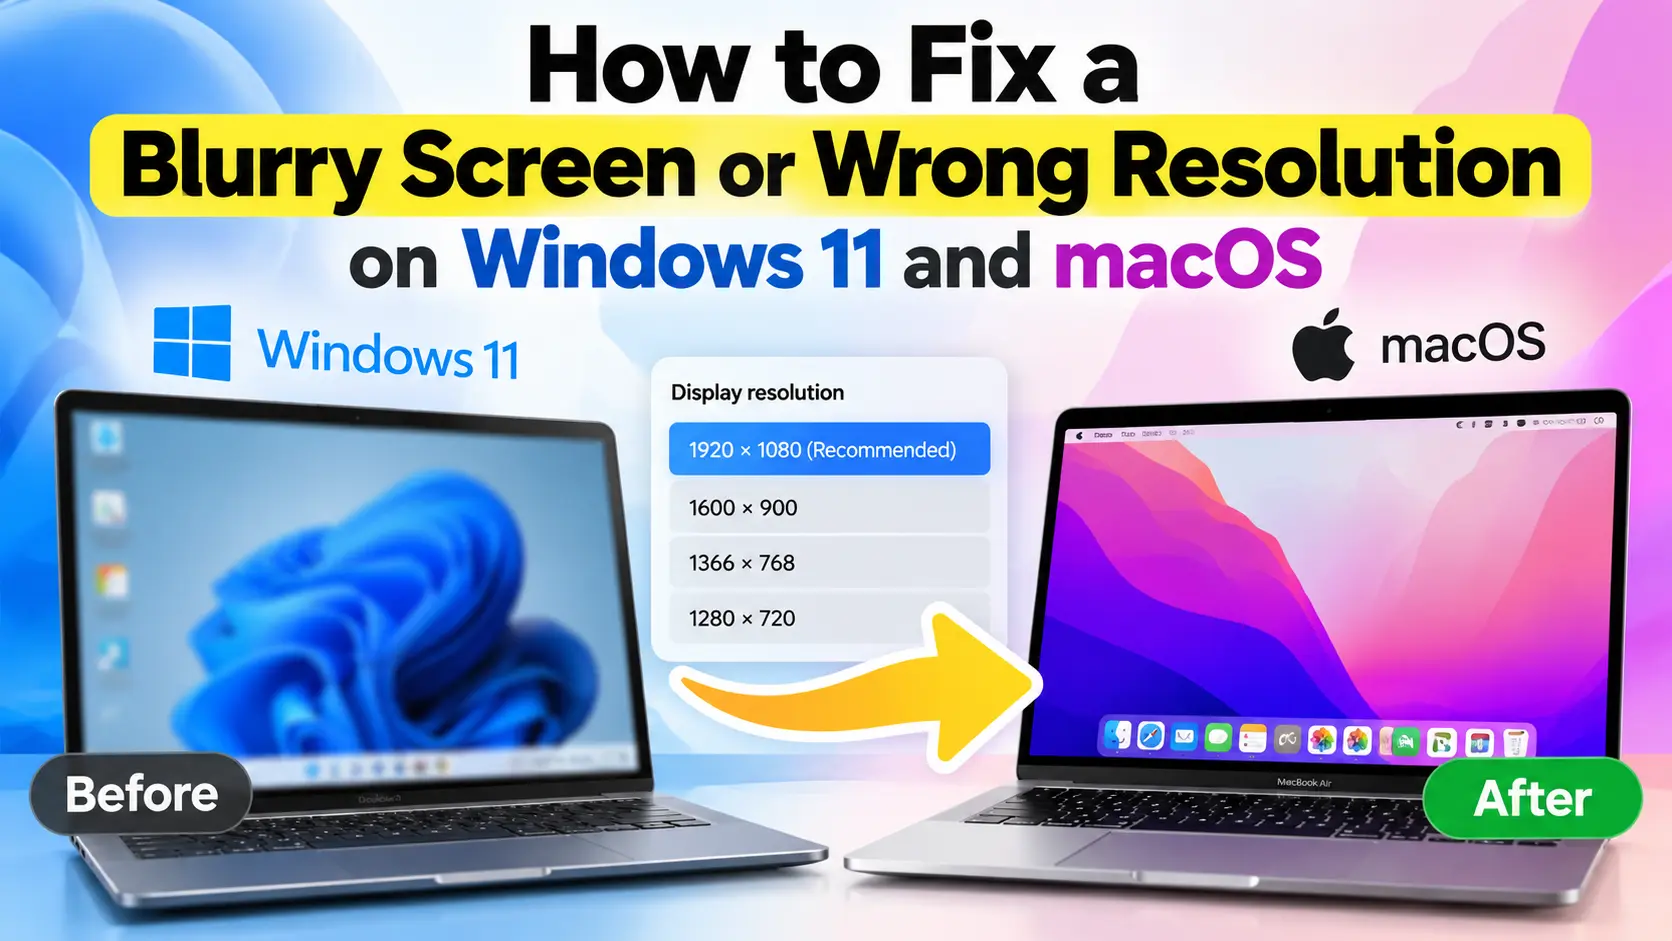
You plug in a brand-new external monitor, wake your laptop from sleep, or complete an operating system update, and something looks completely off.
Desktop icons look swollen or muddy. Text in your web browser has strange colored halos around each letter. Or worse, the entire display is stretched horizontally, turning circular avatars into distorted ovals.
A blurry or incorrectly scaled screen causes immediate eye strain and headaches within minutes of work. Yet in more than 95% of cases, the monitor itself is not defective.
Modern displays rely on a delicate handshake between hardware firmware, graphics drivers, display cables, and operating system scaling algorithms. When one link in that chain miscommunicates, Windows or macOS defaults to an incorrect resolution or applies a clumsy digital stretch.
This troubleshooting guide walks through every proven fix to diagnose, correct, and lock in native, razor-sharp picture quality on both Windows 11 and macOS.
Quick Diagnostic: Why Is Your Screen Blurry?
Before clicking through system menus, run through this quick checklist to pinpoint the exact failure point:
| Visual Symptom | Most Likely Cause | Quick Solution |
|---|---|---|
| Entire screen is stretched or squished (circles look like ovals) | Wrong aspect ratio or non-native resolution selected | Set display to Native (Recommended) resolution in OS settings |
| Everything is the right shape, but text looks soft or fuzzy | Display scaling mismatch or disabled font anti-aliasing | Run ClearType (Windows) or adjust scaling percentage |
| One monitor is sharp, but a second monitor is blurry | Per-monitor DPI scaling bug or shared mirror mode | Set displays to Extend mode and configure scaling independently |
| Crisp on desktop, but one specific app is blurry | Legacy Win32 app not supporting modern High-DPI | Enable High DPI override in the app’s .exe properties |
| Resolution drop-down menu is greyed out | Generic Microsoft Basic Display Adapter driver active | Reinstall your GPU driver (Nvidia, AMD, or Intel) |
| Max resolution (e.g. 4K) is not selectable in the list | Cable or hub bandwidth bottleneck (HDMI 1.4 vs 2.0/2.1, or USB-C hub limit) | Switch to DisplayPort or a certified High-Speed HDMI cable |
Part 1: How to Fix a Blurry Screen on Windows 11
Windows 11 introduced major improvements to fractional scaling, but multi-monitor setups and legacy software can still trip up the Desktop Window Manager (DWM). Follow these fixes in order.
Fix 1: Verify and Lock Native Resolution
Every LCD, OLED, and IPS monitor has a physical grid of hardware diodes known as its native resolution. If your monitor has 2560 × 1440 physical dots and Windows feeds it a 1920 × 1080 signal, the monitor’s scaler has to interpolate the pixels, making everything look fuzzy.
- Right-click any empty space on your desktop and select Display settings.
- If you have multiple monitors connected, click the diagram box corresponding to the blurry display at the top of the window.
- Scroll down to the Scale & layout section.
- Locate the Display resolution dropdown menu.
- Make sure the setting marked (Recommended) is selected (for example:
1920 × 1080,2560 × 1440, or3840 × 2160).
Important: Never settle for a lower resolution just because icons or text look too small. You should always keep the Display Resolution at the native (Recommended) figure, and use the Scale setting (Fix 2) to resize interface elements!
Fix 2: Adjust Display Scaling (DPI)
If your resolution is native but text looks blurry or interfaces look microscopic, Windows display scaling is likely set to an awkward fractional value.
- In Settings > System > Display, find the Scale dropdown.
- Windows usually recommends
100%,125%,150%, or200%depending on your screen size:- 24-inch 1080p Monitor:
100% - 27-inch 1440p (2K) Monitor:
100%or125% - 13-inch to 15-inch Laptop (1080p):
125%or150% - 27-inch or 32-inch 4K Monitor:
150%or200%
- 24-inch 1080p Monitor:
- If an odd percentage causes blurring, test an even step: integer scaling like 200% produces perfectly crisp rendering because each logical pixel maps squarely to a $2 \times 2$ hardware block.
- Restart your PC or sign out and back in. While Windows 11 scales modern apps dynamically, many background system components only apply new scaling factors during a fresh login session.
Fix 3: Tune Text with the ClearType Text Tuner
Windows uses a subpixel rendering technology called ClearType to smooth out the edges of fonts using the RGB subpixels of your monitor. If ClearType is disabled or calibrated for a different display subpixel layout (such as BGR instead of standard RGB), text will appear jagged or discolored.
- Press
Windows Key + Son your keyboard, type Adjust ClearType text, and hitEnter. - Check the box labeled Turn on ClearType and click Next.
- If you have multiple monitors, choose whether to tune all displays or just the blurry screen.
- Windows will verify that your monitor is running at native resolution. Click Next.
- You will be presented with 5 comparison screens showing small blocks of text. On each screen, click the text sample that looks sharpest and easiest to read to your eyes.
- Click Finish.
This updates your Windows font rasterization registry keys, immediately sharpening text rendering in File Explorer, Microsoft Edge, Office, and desktop tools.
Fix 4: Fix Blurry Text in a Specific Application
If Windows itself looks razor-sharp, but one specific older app (like an older accounting tool, audio plugin, or installer) looks fuzzy and pixelated, that app is failing High-DPI awareness checks.
- Right-click the shortcut or
.exefile of the blurry application and select Properties. - Switch to the Compatibility tab.
- Click the button labeled Change high DPI settings.
- Check the box under High DPI scaling override labeled:
“Override high DPI scaling behavior. Scaling performed by:” - Open the dropdown menu and select Application.
- Click OK, then click Apply.
- Restart the application.
Selecting Application forces the software to render its own interface directly rather than letting Windows stretch a low-resolution bitmap.
Fix 5: Update or Reinstall Your Graphics Drivers
If Windows refuses to list your monitor’s native resolution, or the resolution dropdown is completely greyed out, your dedicated graphics driver has crashed or reverted to the fallback driver.
- Press
Windows Key + Xand select Device Manager. - Expand the Display adapters category.
- Look at the name of your graphics card:
- If it says Microsoft Basic Display Adapter, your real GPU driver is missing!
- Download and install the latest official driver package directly from your hardware provider:
- NVIDIA: nvidia.com/drivers (GeForce Experience or NVIDIA App)
- AMD: amd.com/support (Adrenalin Software)
- Intel: intel.com/support (Intel Driver & Support Assistant)
- Choose Clean Installation during setup to wipe out corrupted monitor EDID cache files.
- Restart your computer.
Part 2: How to Fix a Blurry Screen or Scaling Issues on macOS
macOS approaches displays differently than Windows. Apple designs macOS typography and UI geometry around a strict Retina standard (~218-220 PPI).
When you connect a third-party monitor (especially a 1440p monitor or a 27-inch 4K screen), macOS can sometimes disable font smoothing or apply integer scaling that results in soft edges.
Fix 1: Unlock All Hidden Scaled Resolutions
By default, macOS Ventura, Sonoma, and Sequoia display simple visual thumbnail tiles under Display Settings instead of actual pixel numbers. You can reveal the complete list of supported native resolutions:
- Click the Apple Menu () in the top-left corner and select System Settings.
- Click Displays in the left sidebar.
- Select your external monitor at the top.
- Below the scaling options, toggle the switch labeled “Show all resolutions” (or hold down the
Optionkey while clicking on the resolution thumbnails). - A detailed list showing exact resolution figures will appear.
- Look for your monitor’s true physical resolution (e.g.
3840 × 2160,2560 × 1440,3440 × 1440). - Select the native option.
Fix 2: Check for Screen Mirroring Conflicts
One of the most common reasons an external monitor looks terrible on a MacBook is that macOS automatically mirrored the laptop screen onto the external monitor.
If you mirror an external 4K monitor with a 13-inch MacBook Air screen, both monitors are forced to share the exact same resolution and aspect ratio!
- Go to System Settings > Displays.
- Look at the dropdown menu labeled “Use as”.
- Ensure it is set to Stop Mirroring or Extended display.
- Arrange your displays side-by-side so each screen can run at its own independent, native resolution.
Fix 3: Re-enable Font Smoothing on External Displays
Starting with macOS Mojave and continuing through modern macOS releases, Apple removed subpixel antialiasing (subpixel font smoothing) from the System Settings graphical interface to optimize solely for ultra-high-density Retina screens.
On external monitors with standard pixel density (~108-110 PPI, like 24” 1080p or 27” 1440p screens), text can look thin, faint, or slightly blurry. You can re-enable font smoothing via Terminal:
- Open Terminal (press
Cmd + Space, typeTerminal, and pressEnter). - Run the following command to turn font smoothing on:
(Note:defaults -currentHost write -g AppleFontSmoothing -int 21is light smoothing,2is medium, and3is strong). - Log out of your macOS user account and log back in (or restart your Mac).
To undo this change later, run:
defaults -currentHost delete -g AppleFontSmoothing
Fix 4: Fix the “RGB vs. YCbCr” Color Format Bug
Occasionally, macOS mistakes an external monitor connected via HDMI or a USB-C adapter for a television. When this happens, the Mac outputs a YCbCr color signal with chroma subsampling (4:2:2 or 4:2:0) instead of full RGB 4:4:4, which causes severe color fringing and blurry text edges.
- Open System Settings > Displays.
- If your monitor has a Color Profile dropdown, check that it is set to the monitor’s native profile or standard
Display P3/sRGB. - Check the physical monitor menu (the hardware OSD buttons on your monitor):
- Look for Input Color Format or HDMI Color Space.
- Change it from Auto or YCbCr to RGB.
- If the issue persists over HDMI, switch your cable connection to USB-C to DisplayPort. DisplayPort connections on macOS almost never trigger the YCbCr television fallback bug.
Part 3: Hardware Bottlenecks: Cables, Adapters, and Docks
If you have tried every software setting on Windows and Mac and the correct resolution still won’t appear, the issue is almost always physical bandwidth.
1. HDMI Version Mismatches
- HDMI 1.4: Maxes out at 4K at an unusable 30Hz, or 1440p at 60Hz. If connected to a 4K screen, graphics will lag and text will look blurry.
- HDMI 2.0: Supports 4K at 60Hz with full 8-bit RGB color.
- HDMI 2.1: Required for high-refresh 4K (120Hz/144Hz) and ultrawide HDR displays.
Fix: Look at the writing printed along your HDMI cable jacket. If it says Standard HDMI, replace it with a certified Premium High Speed (18Gbps) or Ultra High Speed (48Gbps) cable.
2. Multi-Port USB-C Docks and Hubs
Inexpensive USB-C multi-hubs that include USB ports, Ethernet, and SD card readers often share a limited 2-lane DisplayPort alternate mode stream. When all ports are in use, the hub may choke down display output to 1080p or drop refresh rates to 30Hz.
Fix: Test plugging your monitor directly into your laptop’s dedicated Thunderbolt/USB-C port using a single dedicated USB-C to DisplayPort 1.4 cable.
3. DisplayPort Version and MST Daisy-Chaining
If you use DisplayPort daisy-chaining (connecting Laptop -> Monitor 1 -> Monitor 2 via DisplayPort Multi-Stream Transport), bandwidth is divided between the two displays.
- A single DisplayPort 1.2 cable cannot carry two 1440p 60Hz displays without lowering color depth or resolution.
- DisplayPort 1.4 or Thunderbolt 4 is required to run dual 4K monitors without compression artifacts or resolution drops.
Part 4: Monitor Hardware Settings (The OSD Menu)
Sometimes the operating system is sending the exact native signal, but your monitor’s internal hardware scaler is distorting the picture. Every monitor has an On-Screen Display (OSD) controlled by physical buttons on the back or bottom bezel.
Check these four critical OSD settings:
1. Aspect Ratio Mode (Wide vs. Auto vs. 1:1)
If your display looks stretched or has black borders:
- Open your monitor’s physical menu.
- Look for Image, Display, or Picture Settings.
- Find Aspect Ratio.
- Make sure it is set to Auto, 1:1, or Aspect rather than forced Wide or Fill Screen.
2. Overscan / Underscan (Especially over HDMI)
Many monitors and smart TVs treat HDMI connections as television video signals rather than computer inputs. They apply overscan, which crops the outer 5% of your desktop and stretches the remaining pixels, making text look noticeably fuzzy.
- In your monitor’s OSD, look for Aspect Ratio, HDMI Mode, or Overscan.
- Change the setting from 16:9 to Just Scan, Full, Screen Fit, or 1:1 Pixel Mapping.
- If connected to a PC with an AMD or NVIDIA GPU, check the GPU Control Panel under Desktop Size and Position and ensure Underscan is set to
0%.
3. Sharpness Slider Setting
On almost all computer monitors, setting the physical Sharpness slider too high does not improve clarity—it introduces glaring white halos around black letters and artificial ringing artifacts.
- The factory neutral setting on most monitors is typically 50 (or 0 on Dell/BenQ monitors).
- Lower the sharpness slider until text stops showing bright edge halos.
4. Color Space Input (RGB Full Range vs. Limited Range)
When an operating system outputs full RGB (0–255 color values) but the monitor expects limited RGB (16–235), blacks look washed-out grey. Conversely, if the signal mismatch is reversed, dark shadows crush to pure black and color gradients band severely:
- NVIDIA Control Panel: Go to Change Resolution > Select Use NVIDIA color settings > Set Output dynamic range to Full.
- Intel Graphics Command Center: Go to Display > Color > Set Quantization Range to Full (0-255).
- Monitor OSD: Verify HDMI RGB Range is set to Full (or Auto).
Part 5: Refresh Rate and Motion Blur
A static screen can look sharp when you sit still, but turn into an unreadable smear the moment you scroll down a webpage or drag a window. This is usually caused by an incorrect refresh rate setting.
How to Check and Maximize Refresh Rate:
On Windows 11:
- Open Settings > System > Display > Advanced display.
- Under Display information, locate the dropdown labeled Choose a refresh rate.
- By default, Windows often sets newly connected monitors to a power-saving
29.97 Hzor30 Hz. - Switch the setting to your monitor’s true maximum capability: 60 Hz, 120 Hz, 144 Hz, or 240 Hz.
On macOS:
- Go to System Settings > Displays.
- Select your external monitor.
- Open the Refresh Rate dropdown menu and select the highest available frequency (e.g.
60 Hertz,120 Hertz ProMotion, or144 Hertz).
Complete Comparison: Scaling Options at a Glance
| Display Type | Typical Hardware Resolution | Recommended OS Scaling | Effective Viewport Size | Text Sharpness Rating |
|---|---|---|---|---|
| 24” Desktop Monitor | 1920 × 1080 (1080p) | 100% | 1920 × 1080 | Good (Standard 1x density) |
| 27” Desktop Monitor | 2560 × 1440 (1440p) | 100% or 125% | 2560 × 1440 or 2048 × 1152 | Very Good |
| 27” 4K Monitor | 3840 × 2160 (UHD) | 150% or 200% | 2560 × 1440 (150%) or 1920 × 1080 (200%) | Exceptional (Retina clarity) |
| 32” 4K Monitor | 3840 × 2160 (UHD) | 125% or 150% | 3072 × 1728 or 2560 × 1440 | Exceptional |
| 34” Ultrawide | 3440 × 1440 (UWQHD) | 100% | 3440 × 1440 | Very Sharp |
| 14” Laptop | 1920 × 1080 (1080p) | 125% or 150% | 1536 × 864 or 1280 × 720 | Clean |
Frequently Asked Questions (FAQ)
Why does my monitor look blurry when connected via HDMI but sharp over DisplayPort?
HDMI and DisplayPort send the same digital video frames, but HDMI ports often trigger consumer TV signal profiles in graphics drivers. This causes the GPU to output limited-range YCbCr color instead of Full RGB, or apply TV overscan. DisplayPort is treated strictly as a PC data standard and always defaults to uncompressed RGB 4:4:4.
Is display scaling the same as lowering screen resolution?
No! This is the single biggest misconception in display technology.
- Lowering resolution reduces the total signal bandwidth. If you set a 4K screen to 1080p, your graphics card only outputs 2 million pixels. The monitor physically stretches those 2 million pixels across 8 million hardware diodes, creating noticeable blur.
- Display scaling (e.g. 200%) keeps your GPU sending all 8 million pixels at native 4K. It simply tells your apps to draw fonts, buttons, and user interfaces twice as large using all available physical pixels. Everything remains pin-sharp.
Why does text in Google Chrome look blurry compared to Microsoft Edge?
Both browsers share the Chromium engine, but their font rendering flags can differ. In Google Chrome:
- Type
chrome://flagsin your address bar and pressEnter. - Search for Accelerated 2D canvas.
- Ensure it is set to Enabled.
- If text still looks jagged, ensure Windows ClearType is active (Part 1, Fix 3).
Why does my second monitor turn blurry whenever I open an app on it?
This is a known Windows bug caused by having two monitors with vastly different scaling percentages (e.g. a 4K laptop screen at 200% paired with an external 1080p monitor at 100%). When a window moves across the boundary, Windows sometimes uses bitmap scaling rather than recalculating the layout. Moving the window slightly, maximizing it, or signing out and back into Windows resolves the scaling cache.
Verify Your Fix Live
Once you have adjusted your display settings, how do you verify that your operating system and web browser are genuinely seeing the correct dimensions?
You can test your active display parameters right now using our free detection tool:
👉 Check My Live Screen Resolution & Viewport on WhatIsMyScreenResolutions.com
Our browser detector runs client-side JavaScript to inspect:
- Your Screen Resolution (total physical and logical display bounds)
- Your Live Viewport (active window drawing area)
- Your Device Pixel Ratio (DPR) (verifying whether 1.0x, 1.5x, 2.0x, or 3.0x scaling is active)
- Your Color Depth & Orientation
If your detected resolution matches your monitor’s manufacturer specifications, your screen is perfectly configured and operating at maximum visual clarity!
Pixel-accurate · measured on your device
What is my screen resolution?
Get your exact screen resolution, viewport, pixel density, and refresh rate — measured locally, updated live.
Run the test →Related Guides & Articles
Screen Resolution vs PPI (Pixels Per Inch): What Actually Determines Display Sharpness?
Why does a 4K TV look less sharp up close than a 1080p phone? We explain the math of PPI, angular resolution, viewing distance, and subpixel matrices.
Refresh Rate (Hz) vs Screen Resolution: Why 144Hz 1440p Beats 60Hz 4K for Most People
Confused between 4K 60Hz and 1440p 144Hz? We break down the physics of refresh rate vs resolution, motion clarity, cable bandwidth, and GPU demands.